
Docker has made a big impact on how developers build and run applications. It uses containers, which are like small, self-contained packages that include everything an app needs to run, such as libraries and other important files. This makes it easier to share your app and run it anywhere without worrying about different setups or environments. Docker is also commonly used in virtualization, allowing developers to run multiple applications on a single machine without them interfering with each other. It helps create isolated environments for each app, improving efficiency and reducing errors. If you’re using Windows 10 or Windows 11, this simple guide will show you how to install Docker on your system, so you can improve your development projects and make them more efficient.
Why use Docker?
Imagine, you have a group of four chefs in a kitchen, all working together to prepare the same dish. However, each chef is using a different type of stove: one has a gas stove, another has an electric stove, and the other two are using induction stoves. Each stove requires different cooking methods, tools, and adjustments to make sure the dish turns out just right. So, every chef has to tweak their process to fit their specific stove, leading to confusion, delays, and sometimes mistakes. As each of their methods will be different, due to inherent differences in their stoves, it will be hard for all of them to collaborate on the method to prepare their dish.
This is similar to what happens when developers are working on a project across different operating systems—one might be on Windows, another on Linux, and others on macOS. Each developer must tweak their setup to ensure the application works on their machine, installing different libraries and dependencies that are more often than not OS-specific. This can cause conflicts and slow down the development process in a collaborative environment.
This is where Docker comes in:
Docker is a tool that packages everything an application needs to run—like libraries, dependencies, and configuration files—into a container. It is like giving each of the developers an environment within their varying OSes that can be common between them. Docker ensures that developers can write code or build applications without worrying about the underlying system. This makes the process much smoother and avoids the problems caused by different environments.
Launched in 2013, Docker helps developers focus on creating, deploying, and running apps easily, without the headache of adjusting for various system requirements.
Few reasons why Docker is so widely used:
1. Security
Docker provides isolation between containers, ensuring that one container can’t access another’s data without permission. While Docker adds a layer of security, other security measures are still needed for complete protection.
2. Scalability & Flexibility
Docker lets you easily scale applications by replicating containers across servers. It also allows for quick upgrades and repairs without downtime, providing flexibility in deployment.
3. Faster Application Deployment
Docker containers are lightweight and don’t need a full OS, making deployments faster. They also streamline CI/CD processes by enabling the use of pre-configured images across various environments.
4. Portability
Docker containers run the same way on any platform that supports Docker, making it easy to move applications between cloud environments, local machines, and more.
5. Built-in Version Control
Docker allows you to track and roll back to previous container versions easily. This helps maintain stable application versions and reuse components for better efficiency.
6. Consistent & Isolated Environment
Docker ensures each app runs in its own isolated environment, providing consistency across development, testing, and production without conflicts between containers.
7. Cost-Effective
Docker reduces infrastructure needs and resource usage, allowing multiple containers to run on a single server. This leads to lower costs and a more efficient use of resources.
Pre-Requisites to installing Docker on your system:
To install Docker on a Windows environment, ensure the following requirements are met:
Supported Windows Version:
- Windows 10: Professional, Enterprise, or Education editions (64-bit).
- Windows 11: Pro, Enterprise, or Education editions (64-bit).
Docker Desktop is not supported on Windows Home editions unless you use Windows Subsystem for Linux 2 (WSL 2), (This shall also be discussed below).
Hardware Virtualization
- Virtualization must be enabled in the BIOS/UEFI settings (Intel VT-x or AMD-V).
- You can check if your system supports virtualization by using Task Manager (under the “Performance” tab) or through the BIOS/UEFI settings.
System Requirements
- Processor: A 64-bit processor with at least 2 cores.
- RAM: Minimum 4GB of RAM (recommended 8GB).
- Disk Space: At least 10GB of free space on your hard drive.
Windows Update
Make sure your Windows OS is up-to-date with the latest updates installed.
Administrator Privileges
You’ll need administrative access to install Docker, and Hyper-V or WSL 2.
Step 1: Enable WSL 2
Windows Subsystem for Linux (WSL) 2 is required to run Docker Desktop on Windows. It provides a lightweight Linux kernel for compatibility and performance improvements.
Open PowerShell and run the below code to install the wsl2:
wsl --installStep 2: Install Docker Desktop
- Download Docker Desktop for Windows from the official Docker website.
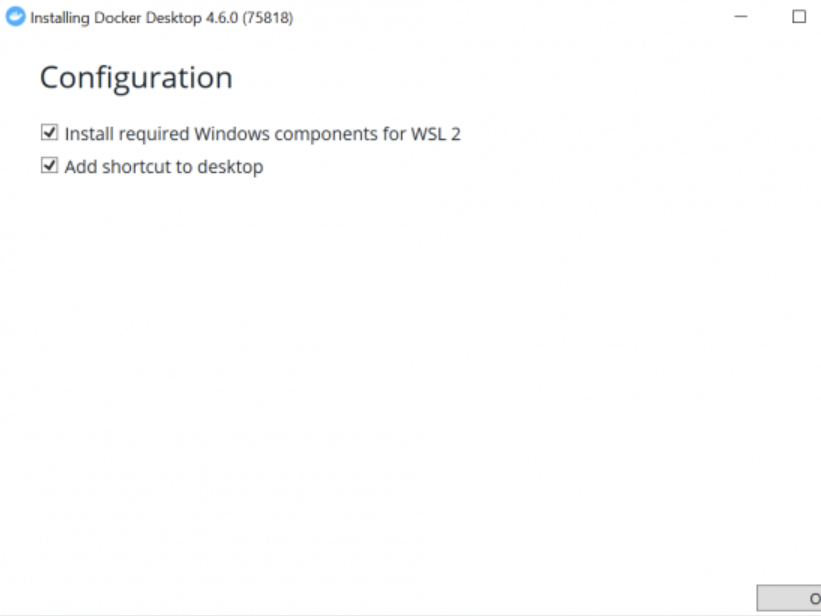
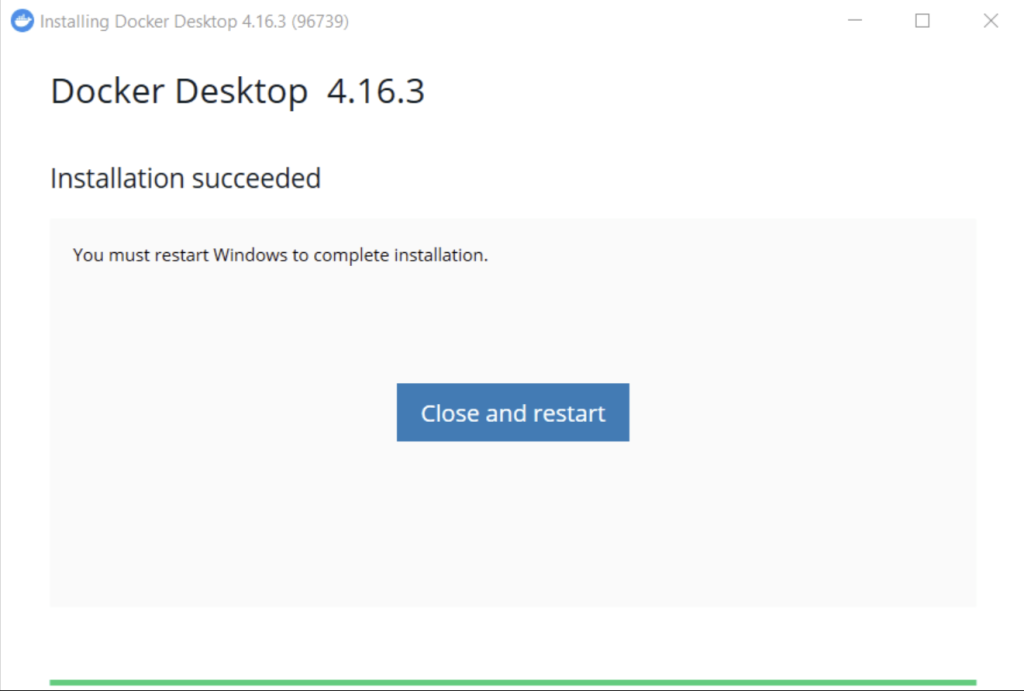
- Run the installer and follow the on-screen instructions.
- Launch Docker Desktop after installation. You might be prompted to restart your device after installation.
Step 3: Configuration and Verification
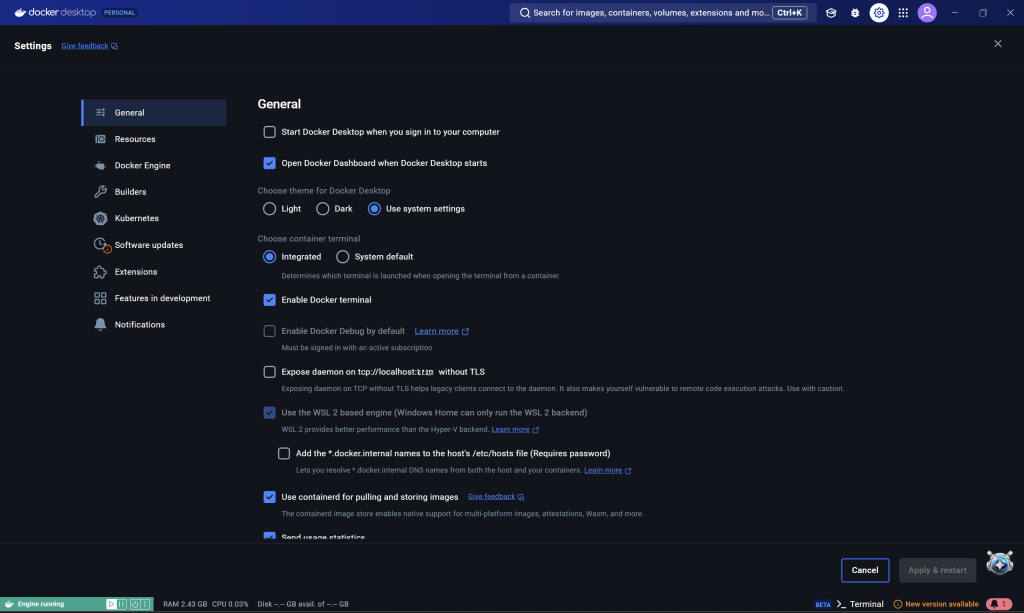
After installation, we can verify the Docker Desktop installation:
- Right-click on the Docker icon in the system tray and select Settings.
- Review the settings and adjust them according to your needs(completely optional). For most users, the default settings are sufficient.
- To verify Docker is installed correctly, open Command Prompt and run the below code:
docker --versionExpected Output(or something along these lines):
Docker version 27.2.0, build 3ab4256- You can run the Hello World container to ensure everything is set up correctly:
docker run hello-worldExpected Output:
Unable to find image 'hello-world:latest' locally
latest: Pulling from library/hello-world
e6590344b1a5: Download complete
Digest: sha:d4d8c0f34a13c64554d564d477f93cc11e0b11662d7c24409a7f8f28a9f3c44b
Status: Downloaded newer image for hello-world:latest

Hello from Docker!
This message shows that your installation appears to be working correctly.

To generate this message, Docker took the following steps:
 1. The Docker client contacted the Docker daemon.
 2. The Docker daemon pulled the "hello-world" image from the Docker Hub.
    (amd64)
 3. The Docker daemon created a new container from that image which runs the
    executable that produces the output you are currently reading.
 4. The Docker daemon streamed that output to the Docker client, which sent it
    to your terminal.

To try something more ambitious, you can run an Ubuntu container with:
 $ docker run -it ubuntu bash

Share images, automate workflows, and more with a free Docker ID:
 https://hub.docker.com/

For more examples and ideas, visit:
 https://docs.docker.com/get-started/
With this we have verified that Docker Desktop has been successfully installed on your system.
Some Common Problems Faced while installing Docker on your system and their quick fixes:
1. Hardware Virtualization Disabled
Problem: Docker requires virtualization to run containers efficiently, but if it’s disabled in the BIOS, Docker won’t work.
Solution:
- Restart your computer and enter the BIOS (typically by pressing F2, F10, DEL, or ESC).
- Find the virtualization setting (Intel VT-x, AMD-V, or SVM) and ensure it’s enabled.
- Save the changes and exit the BIOS.
2. Windows Hyper-V Not Enabled
Problem: Docker Desktop uses Hyper-V for virtualization. If it’s not enabled, Docker will fail to run. Solution:
- Open Control Panel > Programs > Turn Windows features on or off.
- Check the box for Hyper-V and click OK.
- Restart your computer to apply the changes.
3. WSL 2 Not Installed or Configured
Problem: Docker Desktop requires WSL 2 on Windows 10 and later for optimal performance. If WSL 2 isn’t set up, Docker won’t install.
Solution:
- Open PowerShell as an administrator and run: $
wsl --install - To set WSL 2 as default(as sometimes the older version is set to default by mistake): $
wsl --set-default-version 2
4. Incompatible Windows Version
Problem: Docker Desktop isn’t supported on Windows Home editions prior to version 2004.
Solution:
- Check your Windows version via Settings > System > About.
- If using an older version, upgrade to a compatible one or use Docker Toolbox instead.
5. Not Enough Disk Space
Problem: Docker Desktop requires sufficient disk space to install and run images and containers. Solution:
- Free up space by removing unnecessary files or moving them to an external drive.
6. Firewall and Security Software Interference
Problem: Firewalls or antivirus software can block Docker installation or its communication.
Solution:
- Temporarily disable firewall or antivirus during installation.
- After installation, configure firewall to allow Docker communication.
7. Docker Daemon Not Starting
Problem: The Docker daemon may fail to start due to configuration issues or conflicts.
Solution:
- Restart the Docker service using the command: $
net start com.docker.service - Check for conflicts with other applications using the same ports (e.g., port 2375).
Advanced Troubleshooting
1. Checking Logs
Solution:
- Docker logs can provide valuable error information. Find them in the directory: ..\
LOCALAPPDATA\Docker\log.txt - Review logs for errors or warnings to identify the problem.
2. Resetting Docker to Factory Defaults
Solution:
- Open Docker Desktop > Settings > Reset > Reset to factory defaults.
3. Reinstalling Docker Desktop
Solution:
- Uninstall Docker via the Control Panel.
- Delete residual files from:
..\APPDATA\Docker..\LOCALAPPDATA\Docker..\PROGRAMDATA\Docker
- Repeat the steps from 1 again.
Thanks and Happy Coding👾
Heya i’m for the first time here. I came across this board and I to
find It truly useful & it helped me out much.
I was recommended this blog by way of my cousin. I’m no longer sure whether this publish is written via him as nobody else recognize such unique about my trouble. You are incredible! Thanks!
Admiring the persistence you put into your website and in depth
information you provide. It’s good to come across a blog every once in a while that isn’t the
same unwanted rehashed information. Wonderful read! I’ve saved your site and I’m
including your RSS feeds to my Google account.
This website was… how do you say it? Relevant!!
Finally I have found something that helped me. Thank you!