
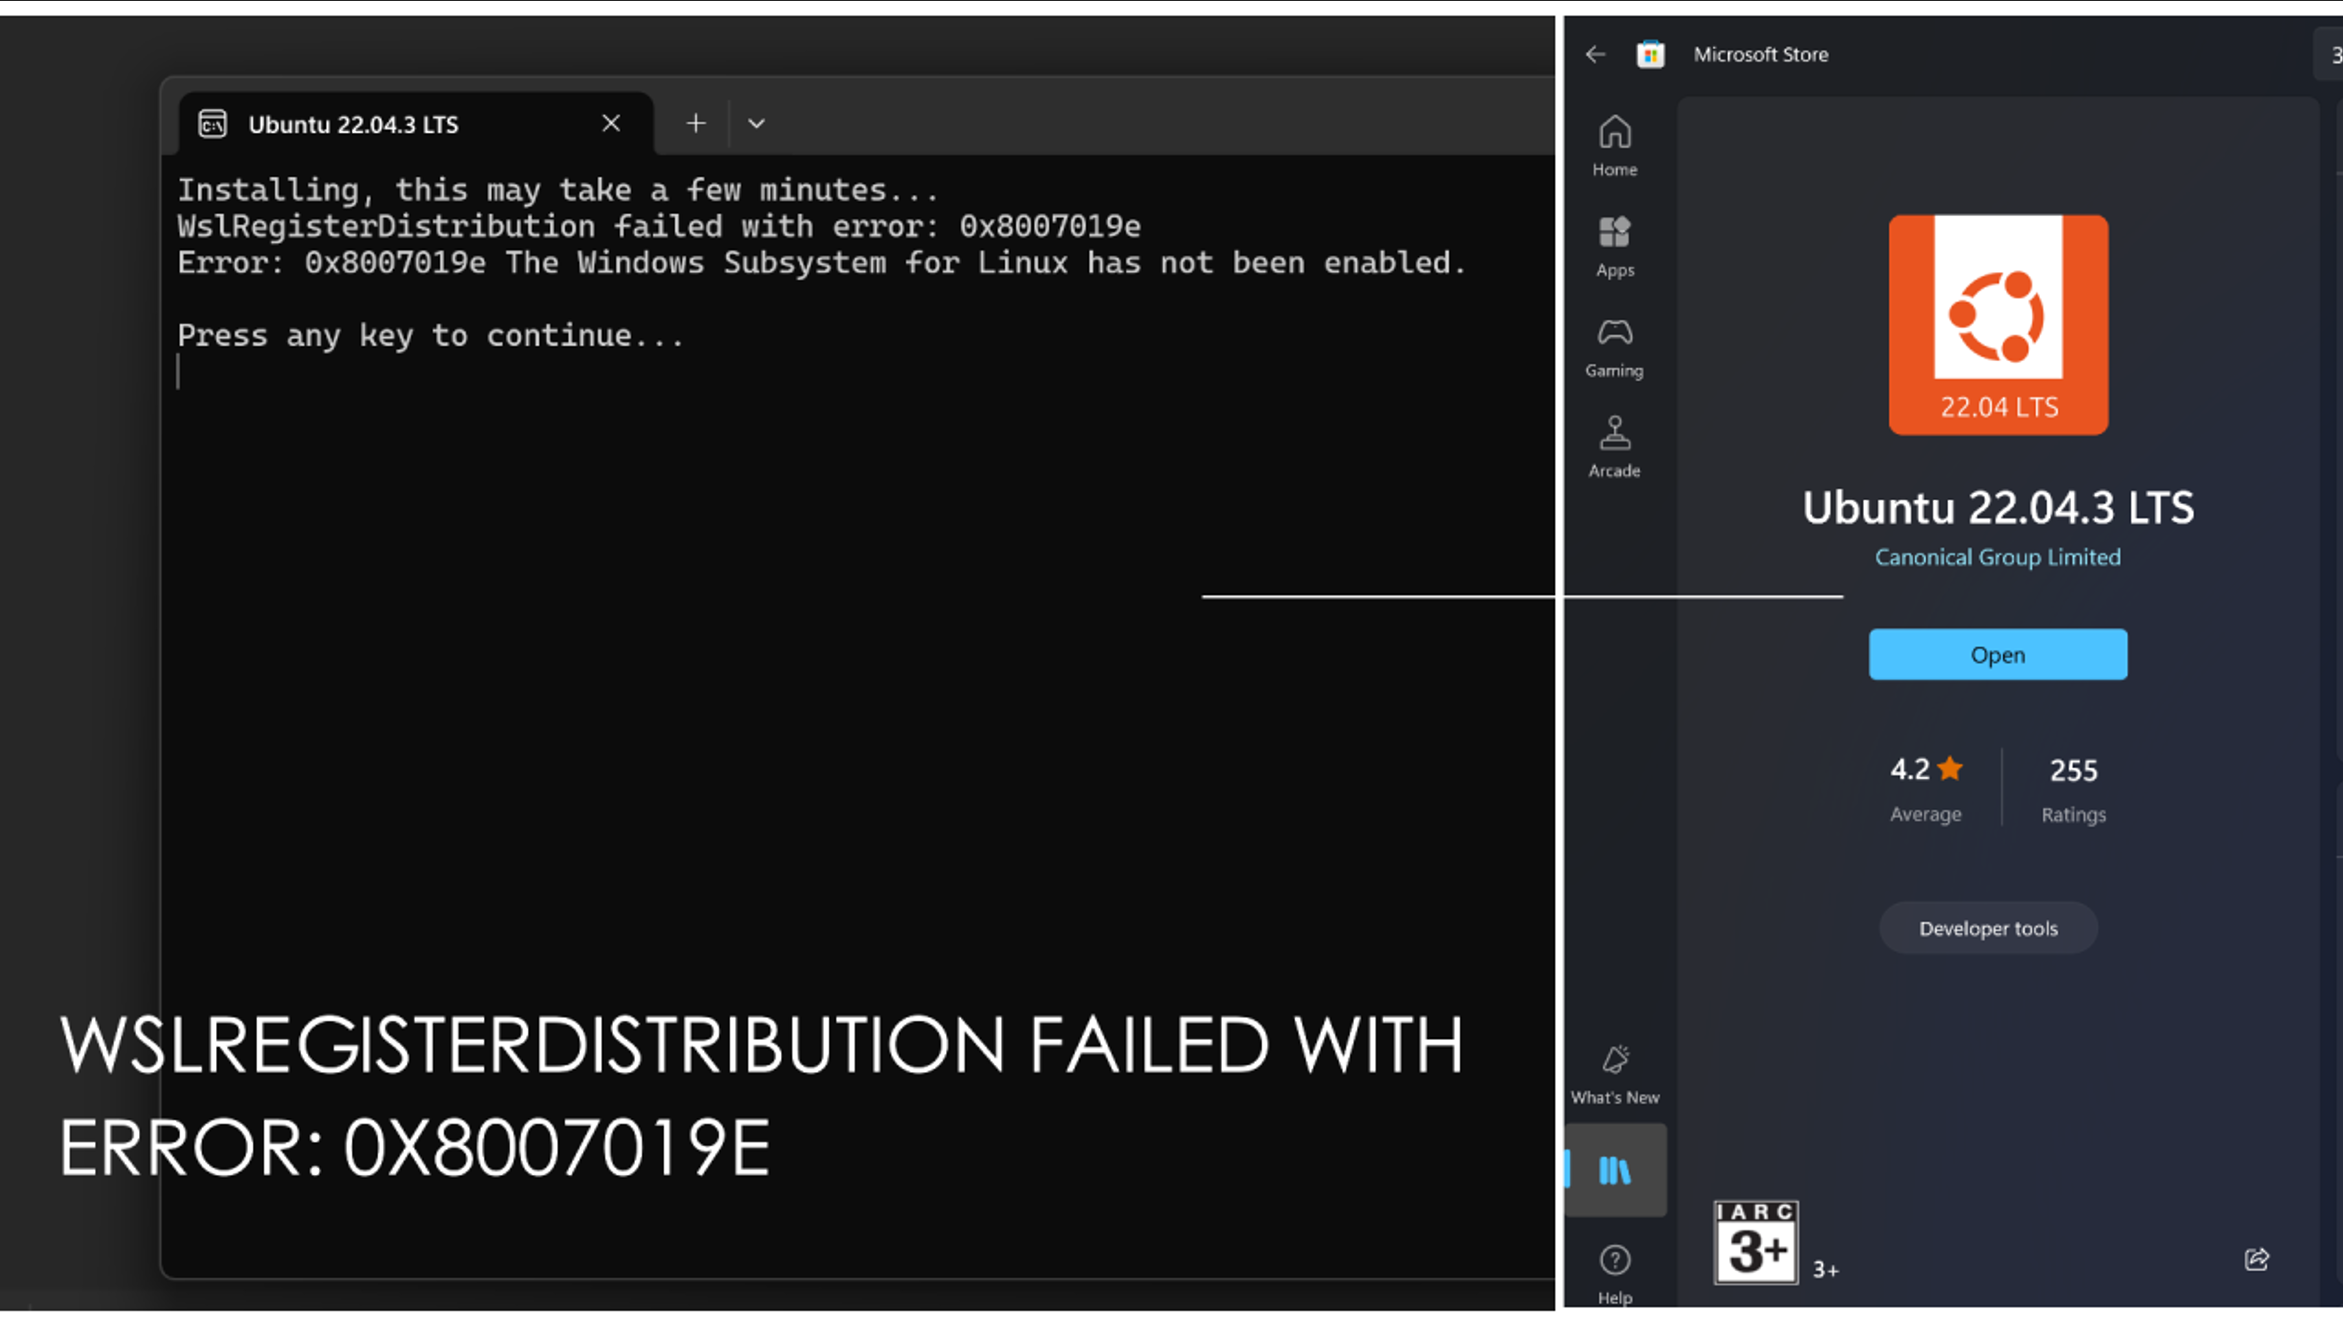
After resetting my PC and performing a fresh installation of Windows 11 Pro, I attempted to install and run Ubuntu on my system via the Microsoft Store.
Upon launching the application, I was met with error: <WslRegisterDistribution failed with error: 0x8007019e>and <Error: 0x8007019e The Windows Subsystem for Linux has not been enabled.>
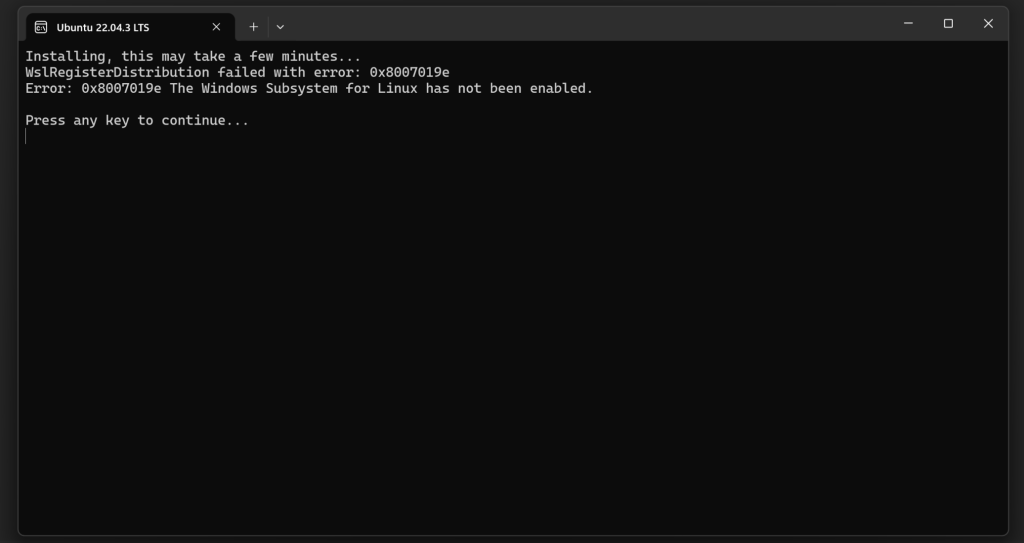
As In above Image.
I tried many of the solutions given online like:
Fix 1 – Enable / Disable the Linux Subsystem:
- Open Run by holding the Windows and R keys together.
- Type optionalfeatures.exe to launch Windows Features.
- Look for Windows Subsystem for Linux and enable it by checking the box next to it.
- Click on OK. Windows Features searches for the required files and applies the changes.
Fix 2 – Try with Windows PowerShell:
- Hold Windows and X keys together to open the Windows menu.
- Select Windows PowerShell (Admin) to launch the PowerShell with admin permissions. Click on Yes when prompted by UAC.
- Type the command below and hit Enter to enable the Linux Subsystem in Windows Features
Enable-WindowsOptionalFeature -Online -FeatureName Microsoft-Windows-Subsystem-LinuxOnce the command executes, it asks for a Restart. Type Y for yes when prompted.
Fix 3 – Restart LxssManager Service
- LxssManager is the Linux Instance Lifecycle Service that runs in the background. The error can occur if the service has been stopped or it is in an error state.
- Hold the Windows + R keys to open the Run dialog.
- Type services.msc to open Windows Services.
- Locate LxssManager Service. Select it and click on the Restart link on the left.
Fix 4 – Launch the Subsystem from Store
- Press Windows + S and type Store. Select the options Microsoft Store in the results.
- Click on the three dots at the top right corner and then select the option My Library.
- Select the tab Installed on the left side of the window.
- In the list of installed apps, click on the Open button next to the Linux distribution application present in your system.
- You will see a Launch button, click on it to check if the application opens without any error.
Fix 5 – Update Linux Terminal using Command Prompt
- Press Windows + R to launch Run dialog.
- Type cmd and press Shift + Ctrl +Enter to open Command Prompt with administrator privileges.
- Use the commands below to update the Linux distribution application.
C:> bash
$ sudo apt-get update
$ sudo apt-get dist-upgrade
$
C:> exit- Now open the application terminal and see if the error is resolved.
Main Issue:
But on trying ‘Fix 5’ after trying {C:\> bash} I encountered error:
Class not registered
Error code: Bash/CallMsi/REGDB_E_CLASSNOTREG
Indicating error with my WSL itself, hence after trying many other methods, I came across this solution that mentioned that there may be a problem with the absence of my WSL .msi file
So, I followed the following link (Github/microsoft/WSL) and downloaded the following file:
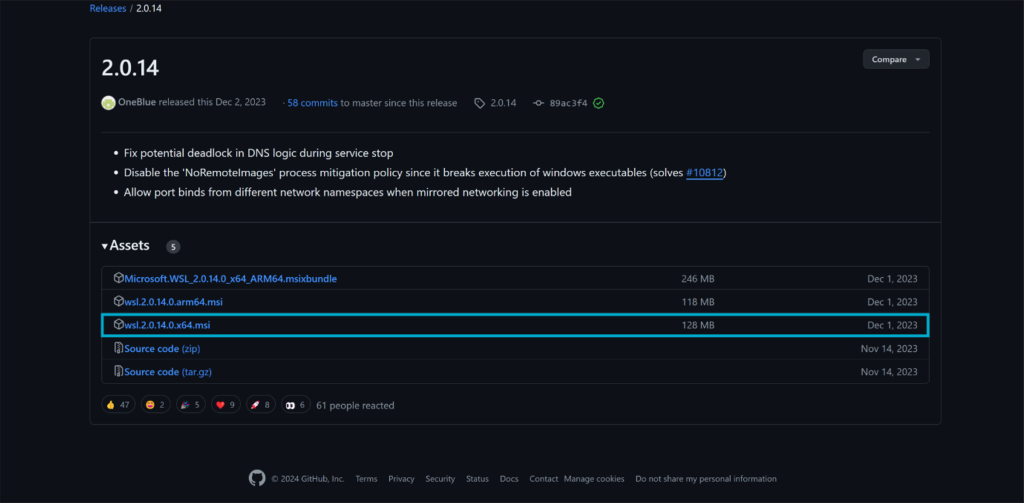
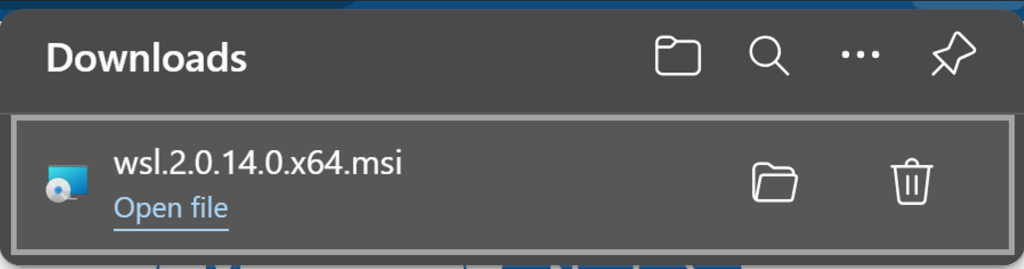
After running the file and restarting my system once the installation was complete, I was able to execute the following command in my terminal using administrator mode:
PS C:\Users**> wslAfter this I received the following message:
Windows Subsystem for Linux has no installed distributions.
Use 'wsl.exe --list --online' to list available distributions
and 'wsl.exe --install ' to install.
Distributions can also be installed by visiting the Microsoft Store:
https://aka.ms/wslstore
Error code: Wsl/Service/CreateInstance/GetDefaultDistro/WSL_E_DEFAULT_DISTRO_NOT_FOUND
Then I typed in the following code:
wsl --list --online
-or-
wsl -l -o
For which I received the following response:
NAME                                    FRIENDLY NAME
Ubuntu                                  Ubuntu
Debian                                  Debian GNU/Linux
kali-linux                              Kali Linux Rolling
Ubuntu-18.04                            Ubuntu 18.04 LTS
Ubuntu-20.04                            Ubuntu 20.04 LTS
Ubuntu-22.04                            Ubuntu 22.04 LTS
Ubuntu-24.04                            Ubuntu 24.04 LTS
OracleLinux_7_9                         Oracle Linux 7.9
OracleLinux_8_7                         Oracle Linux 8.7
OracleLinux_9_1                         Oracle Linux 9.1
openSUSE-Leap-15.5                      openSUSE Leap 15.5
SUSE-Linux-Enterprise-Server-15-SP4     SUSE Linux Enterprise Server 15 SP4
SUSE-Linux-Enterprise-15-SP5            SUSE Linux Enterprise 15 SP5
openSUSE-Tumbleweed                     openSUSE Tumbleweed
As I wanted to install the Ubuntu 24.04 LTS version I typed in the following code:
PS C:\Users\******> wsl --install -d Ubuntu-24.04Giving the following results:
Installing: Ubuntu 24.04 LTS
Ubuntu 24.04 LTS has been installed.
Launching Ubuntu 24.04 LTS...
Installing, this may take a few minutes...
Please create a default UNIX user account. The username does not need to match your Windows username.
For more information visit: https://aka.ms/wslusers
Enter new UNIX username: username
New password:
Retype new password:
passwd: password updated successfully
Installation successful!
To run a command as administrator (user "root"), use "sudo <command>".
See "man sudo_root" for details.

Welcome to Ubuntu 24.04 LTS (GNU/Linux 5.15.133.1-microsoft-standard-WSL2 x86_64)

 * Documentation:  https://help.ubuntu.com
 * Management:     https://landscape.canonical.com
 * Support:        https://ubuntu.com/pro

 System information as of *** ***  ** **:**:** UTC 2024

  System load:  0.3                 Processes:             28
  Usage of /:   0.1% of 1006.85GB   Users logged in:       0
  Memory usage: 5%                  IPv4 address for eth0: ***.**.**.***
  Swap usage:   0%


This message is shown once a day. To disable it please create the
/home/username/.hushlogin file.
username@pcname:~$
This method successfully resolved the error message that was appearing in my Ubuntu application. Hope it helps you too.
Thanks and Happy Coding👾